The Science of Accuracy: Why Calibration is Non-Negotiable
A digital torque wrench utilizes a strain gauge—a small sensor that converts mechanical force into an electrical signal. Over time, through heat cycles, “accidental” drops, or simply 5,000+ click cycles, that sensor begins to report “phantom” values.
According to ISO 6789 standards, a professional-grade digital torque wrench should maintain an accuracy of ±2%. If you haven’t verified yours in the last 12 months (or 5,000 cycles), you aren’t just guessing—you’re risking joint relaxation or fastener shear.
Step-by-Step: How to Calibrate a Digital Torque Wrench Like a Pro
While secondary verification can be done in a workshop, true calibration involves adjusting the internal software to match a known reference.
1. The Pre-Calibration Inspection
Before touching any buttons, perform a physical audit:
- Clean the Square Drive: Any debris or old grease creates parasitic friction.
- Zero the Tool: Power the wrench on and ensure it reads $0.00$ on a flat, vibration-free surface.
2. Setting Up the Reference Standard
You cannot calibrate a tool without a “master.” Professionals use a Digital Torque Tester or an Electronic Loader.
- Mount your torque tester securely to a heavy-duty workbench.
- Ensure the tester’s accuracy is at least 4x higher than the wrench you are testing (this is known as the 4:1 Test Uncertainty Ratio).
3. The Loading Sequence (The 20-60-100 Rule)
Don’t just test at one point. To map the sensor’s linearity, you must test at three specific intervals of the wrench’s maximum capacity:
- 20% Capacity: Tests the low-end sensitivity.
- 60% Capacity: Tests the mid-range performance.
- 100% Capacity: Tests the maximum strain limit.
4. Performing the Adjustment
Apply force slowly and steadily. Unlike click-wrenches, digital wrenches require a smooth “pull” to allow the transducer to sample the data correctly.
- Compare the wrench’s LCD readout against the Master Tester.
- If there is a deviation: Enter the wrench’s “Calibration Mode” (usually a specific key combination found in your manual).
- Input the Actual Torque (the value shown on the master tester) into the wrench so the software can re-sync its offset.
5. Verification and Documentation
Repeat the tests three times for each interval. If the readings are consistent within ±1% to ±2%, the tool is certified. Record the date, the temperature of the room (ideal: 20°C to 22°C), and the deviation for your audit trail.
Read Also: The Ultimate Guide to Electric Torque Wrenches
Common Pitfalls to Avoid
- The “Jerk” Motion: Snapping the wrench to reach a value will cause an “over-torque” spike that the sensor can’t accurately record.
- Ignoring Temperature: Metal expands and sensors shift. If your wrench has been sitting in a cold truck, let it acclimate to room temperature for at least 2 hours before calibrating.
- Using a “Cheater Bar”: Never use an extension on the handle during calibration; it changes the leverage point and invalidates the internal calculation.
Pro-Tip for Industrial Reliability
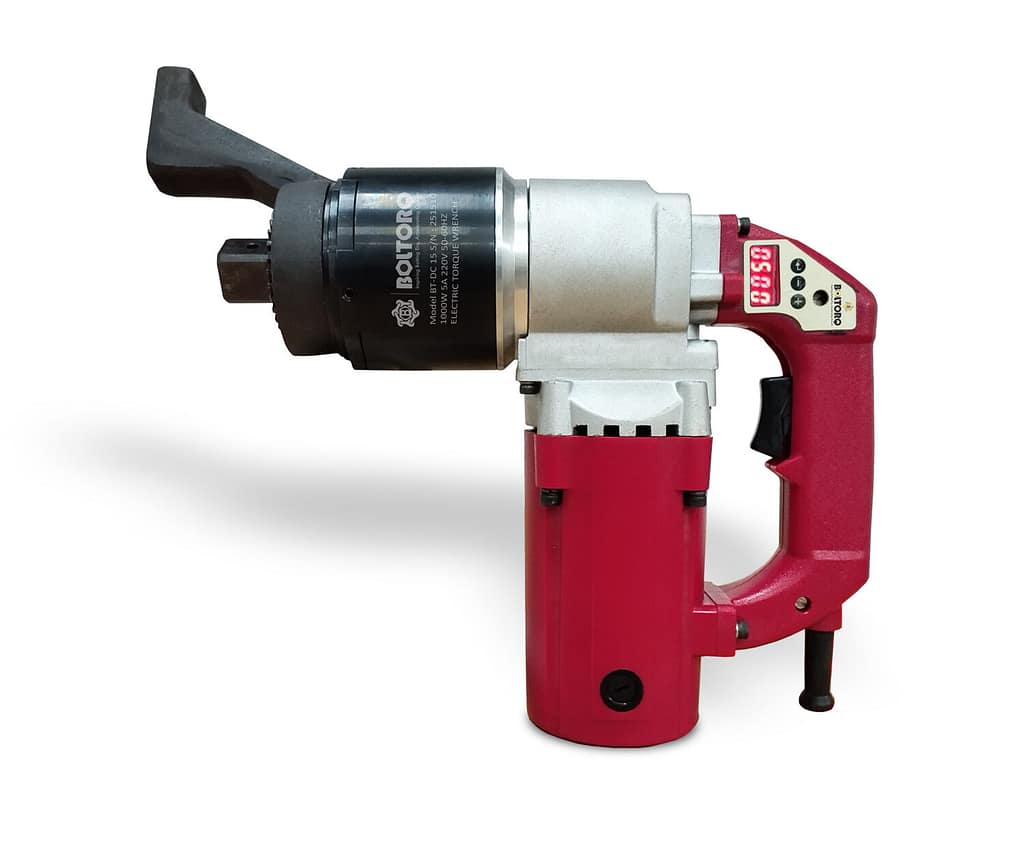
Calibration is a “point-in-time” check. For high-stakes assembly lines, moving from a standard digital wrench to an Electric Torque Wrench (Digital Type) provides a massive advantage. These tools often feature built-in “smart” calibration protocols and automated data logging that take the human error out of the equation entirely.
If your current setup feels like it’s constantly drifting, it might be time to upgrade to a tool designed for zero-tolerance environments.
Ready to eliminate the guesswork and bring laboratory-grade precision to your floor?
0 Comments